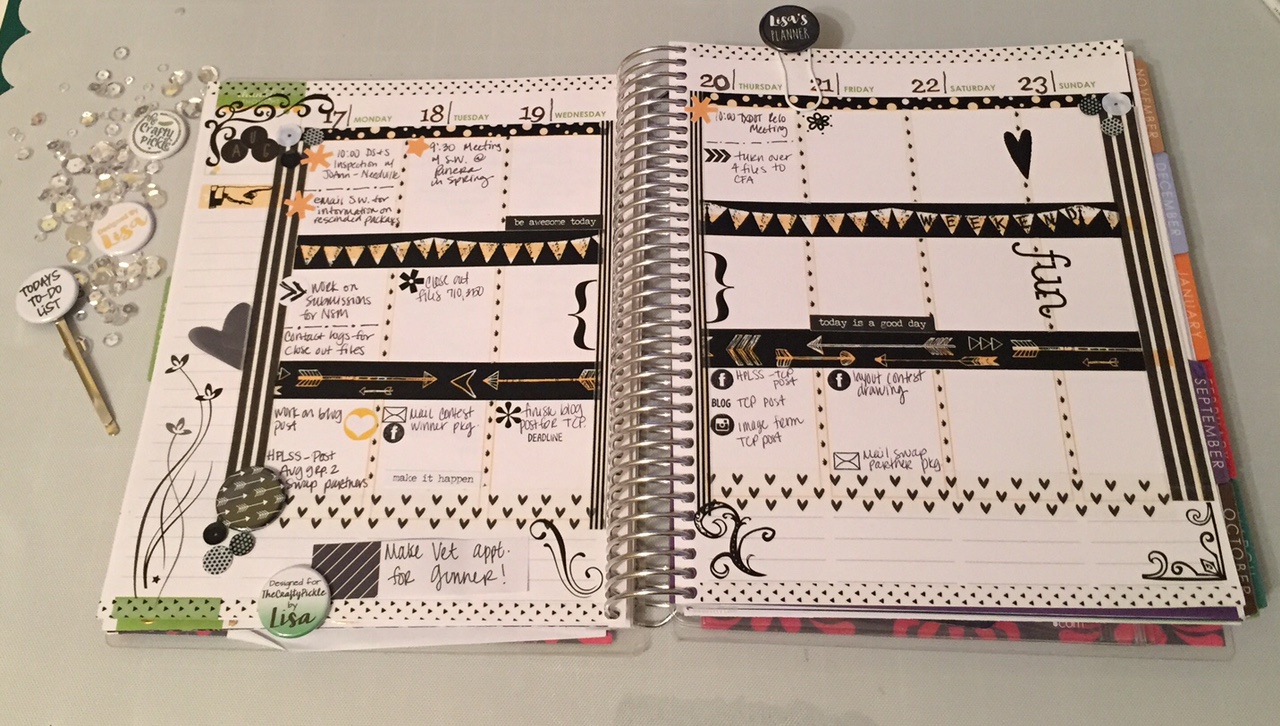
Hi Crafty Friends! It’s Lisa here to share a new Project Life card that I created for The Crafty Pickle. I am doing some preparation for my December Daily album, so that is what inspired me to create this card.

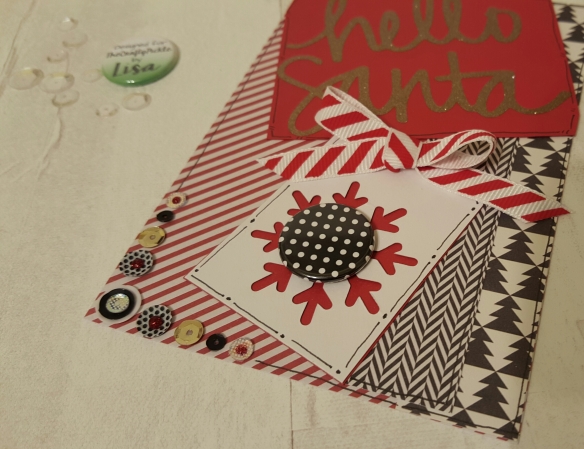
For this card, I started with Pink Paislee Merry & Bright 6×6 paper pad. I cut a tag and a 4×6 project life card from the paper pad. I then cut strips of paper for the side border to add some interest. I cut a snowflake tag on white and red paper using my Silhouette Cameo. I also cut the title using gold glitter vinyl and my Silhouette Cameo for the title “Hello Santa”. I doodled around all the edges with a black 0.8 American Crafts Black Pen and inked with black Memento Ink.
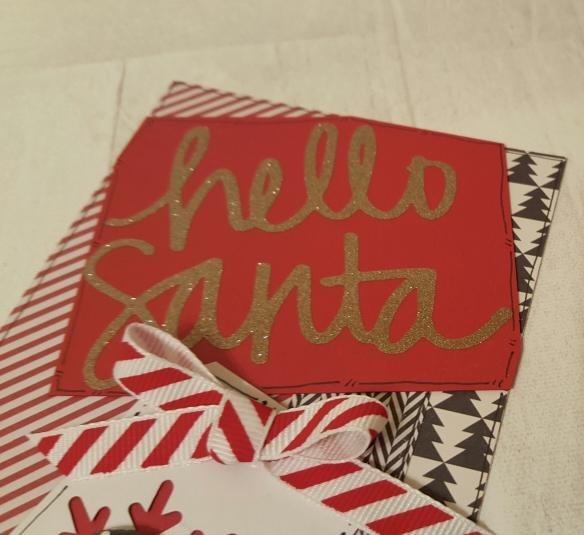
To finish off the card, I used The Crafty Pickle’s Black & White Color Pop Flair and applied it to the top of the snowflake tag. I added some sequins to the corner of the card from The Crafty Pickle. Adding any of the Relish Mixes to your layout or cards gives a fun, sparkly and thin embellishment. These come in all colors, I used the Magical Mouse mix for this card. I layered the sequins and put red glitter stickle dots on top of some of the sequins to change the look a little. And finally, I tied a bow at the top of the snowflake tag to tie it all together!
I hope you enjoyed my Project Life card & are inspired. Look for some more blog posts showing my December Daily in the future!
Thanks for looking & Happy Crafting!